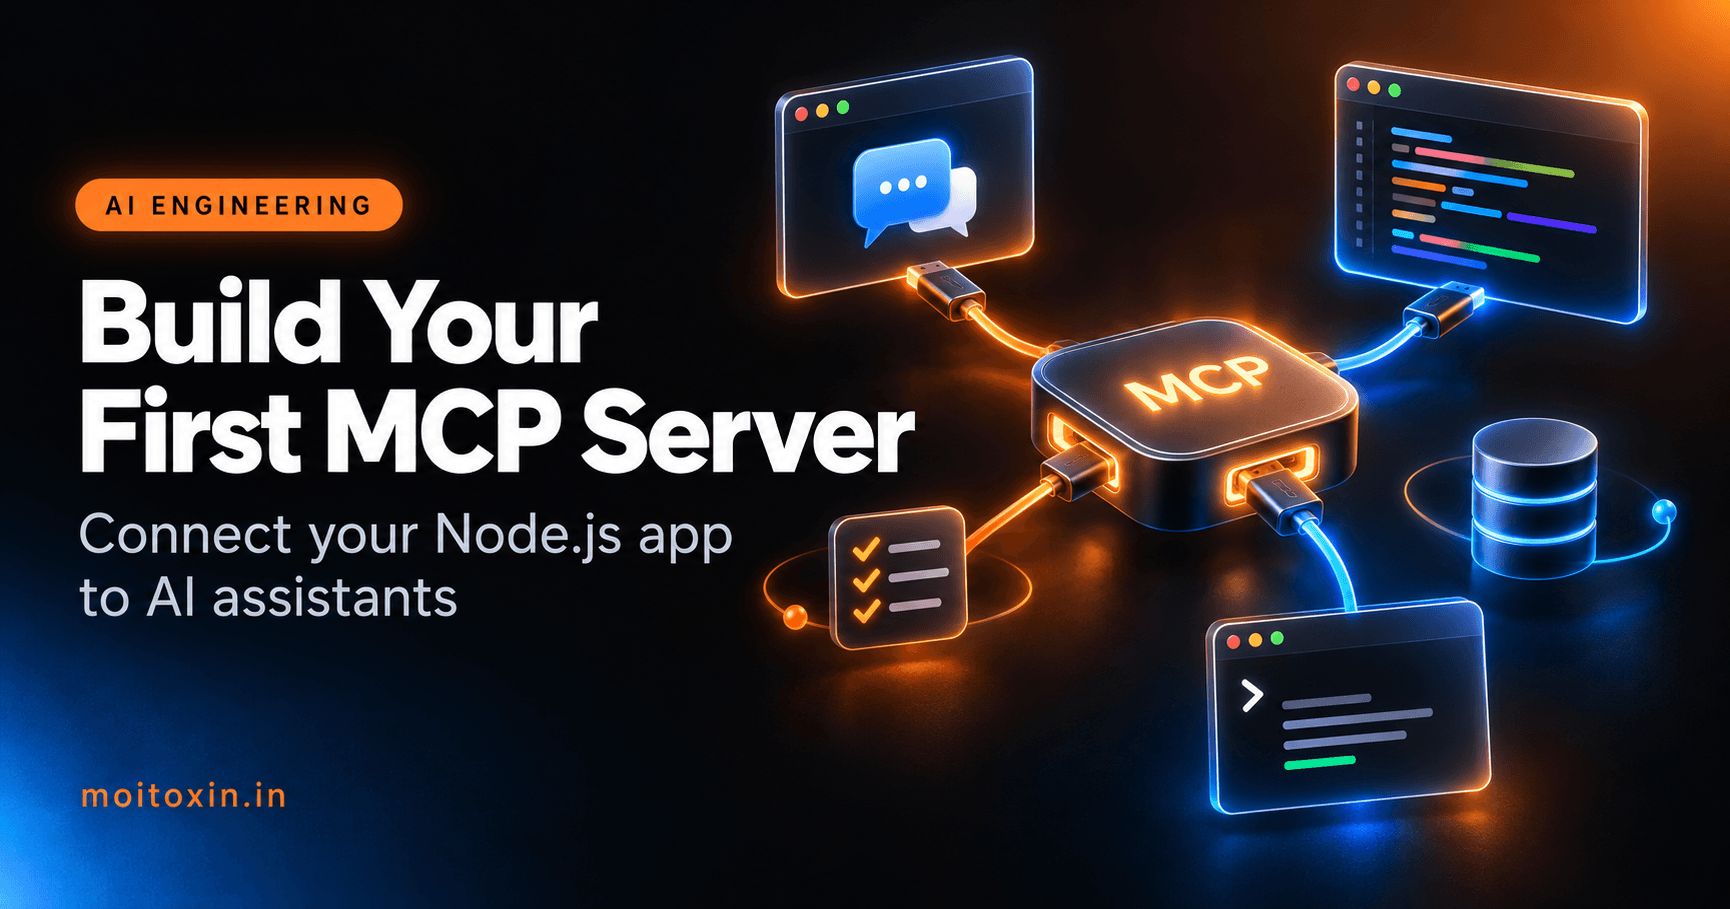
Build Your First MCP Server in Node.js: Connect Your App to AI Assistants
A hands-on, tested tutorial for the MCP TypeScript SDK v2: register tools and resources, test with the MCP Inspector, and connect your server to Claude Code, VS Code and Cursor.

Mohit Malaya Nandy
Software Engineer & Product Builder
On this page
- What is MCP, in plain English?
- A quick note on SDK versions
- Step 1: Create the project
- Step 2: Add a tiny data store
- Step 3: Write the MCP server
- Step 4: Test it with the MCP Inspector
- Step 5: Connect it to an AI assistant
- Step 6: Swap the JSON file for MongoDB
- Designing tools an AI can use well
- Security checklist
- Troubleshooting
- FAQ
- Official references
AI assistants are great at reasoning, but on their own they cannot see your database, your tickets or your app. The Model Context Protocol (MCP) fixes that. It is an open standard that lets any AI assistant call tools you write, in a consistent way.
In this tutorial you will build a working MCP server in Node.js with the official TypeScript SDK (v2). It manages a simple task list, and by the end Claude Code, VS Code, Cursor or any other MCP client will be able to list, add and update your tasks just by asking. Every step below was run and tested, and the code follows the official SDK guide.
What is MCP, in plain English?#
Think of MCP as USB-C for AI tools. Before USB-C, every device needed its own cable. Before MCP, every AI app needed its own custom integration for every service. With MCP, you write one server, and every compatible AI app can plug into it.
There are three roles:
| Role | What it is | Example |
|---|---|---|
| Host | The AI application the user talks to. | Claude Code, VS Code, Cursor |
| Client | The connector inside the host that talks to one server. | Created by the host for you |
| Server | Your program, which exposes capabilities. | The task tracker you build today |
A server can offer three kinds of capabilities:
- Tools: actions the AI can call, such as
add_task. Tools can change data. - Resources: read-only data identified by a URI, such as
tasks://summary. - Prompts: reusable prompt templates the user can pick from a menu.
Under the hood, the client and server exchange JSON-RPC messages. You will not write any of that yourself; the SDK handles the protocol so you can focus on your tools.
A quick note on SDK versions#
The TypeScript SDK now ships v2 as its stable line, split into separate packages such as @modelcontextprotocol/server and @modelcontextprotocol/client. Many older tutorials use @modelcontextprotocol/sdk, which is v1. v1 still gets bug and security fixes, but new projects should start on v2 (SDK README). This guide uses v2.
Step 1: Create the project#
Create a folder, set it up as an ES module project, and install three packages:
mkdir task-tracker-mcp
cd task-tracker-mcp
npm init -y
npm pkg set type=module
npm install @modelcontextprotocol/server zod tsx
mkdir src@modelcontextprotocol/serveris the MCP server SDK.- zod describes and validates the input each tool accepts.
tsxruns TypeScript directly, so there is no build step.
Step 2: Add a tiny data store#
To keep the focus on MCP, tasks are saved to a JSON file. Later in this guide you will swap it for MongoDB without touching the MCP code.
import { readFile, writeFile } from 'node:fs/promises';

export type Task = {
  id: number;
  title: string;
  status: 'todo' | 'doing' | 'done';
  createdAt: string;
};

const FILE = new URL('../tasks.json', import.meta.url);

export async function loadTasks(): Promise<Task[]> {
  try {
    return JSON.parse(await readFile(FILE, 'utf8'));
  } catch {
    return []; // no file yet
  }
}

export async function saveTasks(tasks: Task[]) {
  await writeFile(FILE, JSON.stringify(tasks, null, 2));
}
new URL('../tasks.json', import.meta.url) resolves the file next to the project root, whichever folder the AI app starts the server from. That detail avoids a very common "file not found" bug.
Step 3: Write the MCP server#
Now the main part. Create src/index.ts. It registers three tools and one resource:
import { McpServer } from '@modelcontextprotocol/server';
import { serveStdio } from '@modelcontextprotocol/server/stdio';
import * as z from 'zod/v4';
import { loadTasks, saveTasks } from './store.js';

function createServer() {
  const server = new McpServer({ name: 'task-tracker', version: '1.0.0' });

  server.registerTool(
    'list_tasks',
    {
      description: 'List tasks, optionally filtered by status.',
      inputSchema: z.object({
        status: z.enum(['todo', 'doing', 'done']).optional()
          .describe('Only return tasks with this status'),
      }),
    },
    async ({ status }) => {
      const tasks = await loadTasks();
      const result = status ? tasks.filter((t) => t.status === status) : tasks;
      return { content: [{ type: 'text', text: JSON.stringify(result, null, 2) }] };
    }
  );

  server.registerTool(
    'add_task',
    {
      description: 'Create a new task with status "todo".',
      inputSchema: z.object({
        title: z.string().min(1).max(200).describe('Short task title'),
      }),
    },
    async ({ title }) => {
      const tasks = await loadTasks();
      const task = {
        id: (tasks.at(-1)?.id ?? 0) + 1,
        title,
        status: 'todo' as const,
        createdAt: new Date().toISOString(),
      };
      tasks.push(task);
      await saveTasks(tasks);
      return { content: [{ type: 'text', text: `Created task #${task.id}: ${task.title}` }] };
    }
  );

  server.registerTool(
    'update_status',
    {
      description: 'Change the status of an existing task.',
      inputSchema: z.object({
        id: z.number().int().positive(),
        status: z.enum(['todo', 'doing', 'done']),
      }),
    },
    async ({ id, status }) => {
      const tasks = await loadTasks();
      const task = tasks.find((t) => t.id === id);
      if (!task) {
        return { content: [{ type: 'text', text: `No task with id ${id}` }], isError: true };
      }
      task.status = status;
      await saveTasks(tasks);
      return { content: [{ type: 'text', text: `Task #${id} is now "${status}"` }] };
    }
  );

  server.registerResource(
    'task-summary',
    'tasks://summary',
    { title: 'Task summary', description: 'Counts of tasks by status', mimeType: 'application/json' },
    async (uri) => {
      const tasks = await loadTasks();
      const counts = { todo: 0, doing: 0, done: 0 };
      for (const t of tasks) counts[t.status]++;
      return { contents: [{ uri: uri.href, text: JSON.stringify(counts) }] };
    }
  );

  return server;
}

// stdout is reserved for the protocol, so log to stderr.
console.error('task-tracker MCP server running on stdio');
serveStdio(createServer);
What each part does
createServer()is a factory.serveStdiocalls it to create a server for each connection, which keeps every session clean.registerTool(name, config, handler)adds a tool. Thedescriptionis what the AI reads to decide when to use the tool, so write it like documentation for a colleague.inputSchemais a Zod schema. The SDK turns it into JSON Schema for the AI, and validates every call before your handler runs. Invalid input never reaches your code.isError: truetells the AI the call failed, so it can explain the problem or try something else, instead of treating the error text as a success.registerResourceexposes read-only data at a URI. Clients can load it into context without calling a tool.
Step 4: Test it with the MCP Inspector#
The MCP Inspector is the official tool for testing servers. It starts your server, connects as a client, and lets you call tools by hand. Open the web UI with:
npx @modelcontextprotocol/inspector npx tsx src/index.tsClick Connect, open the Tools tab, and run add_task with a title. You can also test from the terminal with the Inspector's CLI mode, which is handy for scripts:
# List the tools the server exposes
npx @modelcontextprotocol/inspector --cli npx tsx src/index.ts --method tools/list

# Call a tool
npx @modelcontextprotocol/inspector --cli npx tsx src/index.ts \
  --method tools/call --tool-name add_task --tool-arg title="Write MCP blog post"

# Read the resource
npx @modelcontextprotocol/inspector --cli npx tsx src/index.ts \
  --method resources/read --uri tasks://summary
When I ran these, the responses looked like this:
{ "content": [{ "type": "text", "text": "Created task #1: Write MCP blog post" }] }

{ "contents": [{ "uri": "tasks://summary", "text": "{\"todo\":1,\"doing\":0,\"done\":0}" }] }
Also try update_status with an id that does not exist. You should get "isError": true, which proves your error handling works.
Step 5: Connect it to an AI assistant#
MCP clients start your server themselves, so they need the command and the absolute path to your file. Find the path first:
(Resolve-Path .\src\index.ts).PathClaude Code
Add the server with one command (Claude Code MCP docs):
claude mcp add task-tracker -- npx tsx /absolute/path/to/src/index.tsStart Claude Code and ask: "Add a task to review the MCP post, then show me all my tasks." Claude asks permission before each tool call, then uses your server.
VS Code
Create .vscode/mcp.json in your workspace (VS Code MCP docs):
{
  "servers": {
    "task-tracker": {
      "type": "stdio",
      "command": "npx",
      "args": ["tsx", "/absolute/path/to/src/index.ts"]
    }
  }
}
Desktop apps (Claude Desktop, Cursor and others)
Most desktop clients use a JSON config with the same shape under an mcpServers key:
{
  "mcpServers": {
    "task-tracker": {
      "command": "npx",
      "args": ["tsx", "/absolute/path/to/src/index.ts"]
    }
  }
}
Restart the app after editing its config so it picks up the new server.
Step 6: Swap the JSON file for MongoDB#
Because the tools only call loadTasks and saveTasks, you can move to a real database by changing one file. Install the driver with npm install mongodb, then replace the store with focused functions:
import { MongoClient } from 'mongodb';

const client = new MongoClient(process.env.MONGO_URI ?? 'mongodb://127.0.0.1:27017');
const tasks = client.db('tracker').collection('tasks');

export async function listTasks(status?: string) {
  const filter = status ? { status } : {};
  return tasks.find(filter, { projection: { _id: 0 } }).sort({ id: 1 }).toArray();
}

export async function addTask(title: string) {
  const last = await tasks.find().sort({ id: -1 }).limit(1).next();
  const task = { id: (last?.id ?? 0) + 1, title, status: 'todo', createdAt: new Date().toISOString() };
  await tasks.insertOne(task);
  return task;
}

export async function setStatus(id: number, status: string) {
  const result = await tasks.updateOne({ id }, { $set: { status } });
  return result.matchedCount > 0;
}
Then call these functions from your tool handlers instead of loading and saving the whole list. Pass the connection string through the client config's env field, never in the code:
"task-tracker": {
  "command": "npx",
  "args": ["tsx", "/absolute/path/to/src/index.ts"],
  "env": { "MONGO_URI": "mongodb+srv://..." }
}
The same pattern works for any REST API: wrap each endpoint you want to expose in a small function, and register a tool that calls it.
Designing tools an AI can use well#
A working server is the start. These habits make the AI use it correctly:
- Name tools as verbs.
add_taskandupdate_statusare clearer thantasksormanage. - Write descriptions for the model. Say what the tool does, when to use it, and what it returns. Add
.describe()to every input field. - Keep tools small and focused. Several narrow tools work better than one tool with ten optional modes.
- Return useful errors. "No task with id 9" lets the AI recover. A stack trace does not.
- Keep output compact. Everything you return is added to the AI's context. Return the fields it needs, not whole database documents.
Security checklist#
An MCP server gives an AI real power over your data, so treat it like any other API:
- Start read-only. Add write tools only when you need them, and avoid destructive tools like "delete everything".
- Validate every input with tight schemas: enums, lengths, and positive integers, as in this guide.
- Keep secrets in environment variables, never in tool output or code.
- Treat tool results as untrusted. Text that comes from users or the web can contain instructions aimed at the AI (prompt injection). Return data, not instructions.
- Use least privilege. Give the database user behind your server only the permissions its tools need.
- For HTTP servers, add authentication. stdio servers run locally for one user; a network server must check who is calling.
Troubleshooting#
| Problem | Likely cause | Fix |
|---|---|---|
| Client connects, then disconnects immediately | Something printed to stdout | Replace console.log with console.error |
| Cannot use import statement outside a module | Project is not an ES module | Run npm pkg set type=module |
| Server not found by the client | Relative path in the config | Use the absolute path to src/index.ts |
| Tool never gets called | Vague tool description | Describe what the tool does and when to use it |
| Changes not picked up | Client still runs the old process | Restart the client or reconnect the server |
Frequently asked questions#
What is an MCP server?
An MCP server is a small program that exposes tools, resources and prompts to AI applications using the Model Context Protocol. Any MCP-compatible assistant, such as Claude Code, VS Code or Cursor, can then call those tools to read or change data in your app.
What is the difference between MCP tools and resources?
Tools are actions the AI can call, like add_task or update_status, and they can change data. Resources are read-only data the client can load into context, like a summary or a file, identified by a URI.
Which package should I use: @modelcontextprotocol/sdk or @modelcontextprotocol/server?
For new servers use @modelcontextprotocol/server, the v2 SDK. The older @modelcontextprotocol/sdk package is v1, which still receives bug and security fixes but is no longer where new features land.
Why does my MCP server break when I use console.log?
With the stdio transport, stdout carries the JSON-RPC messages between client and server. Anything else printed to stdout corrupts the stream. Log with console.error, which writes to stderr, instead.
Can an MCP server run over HTTP instead of stdio?
Yes. stdio is best for local tools that an assistant launches on your machine. For a shared server that many users or clients connect to over the network, the SDK provides a Streamable HTTP transport, which you should put behind authentication.
Official references#
Found this useful? You can support my writing on GitHub Sponsors or with a coffee.